このガイドでは、コンテンツタイプの定義からカテゴリやタグを使った投稿の表示まで、EmDashでブログを作成する方法を説明します。
前提条件
- EmDashサイトがセットアップされ実行中であること(はじめにを参照)
- Astroコンポーネントの基本的な知識
Posts Collectionの定義
EmDashはセットアップ時にデフォルトの「posts」collectionを作成します。管理ダッシュボードまたはAPIからカスタマイズできます。
デフォルトのposts collectionには以下が含まれます:
title- 投稿タイトルslug- URLフレンドリーな識別子content- リッチテキスト本文excerpt- 短い説明featured_image- ヘッダー画像(オプション)status- 下書き、公開済み、または予約済みpublishedAt- 公開日(システムフィールド)
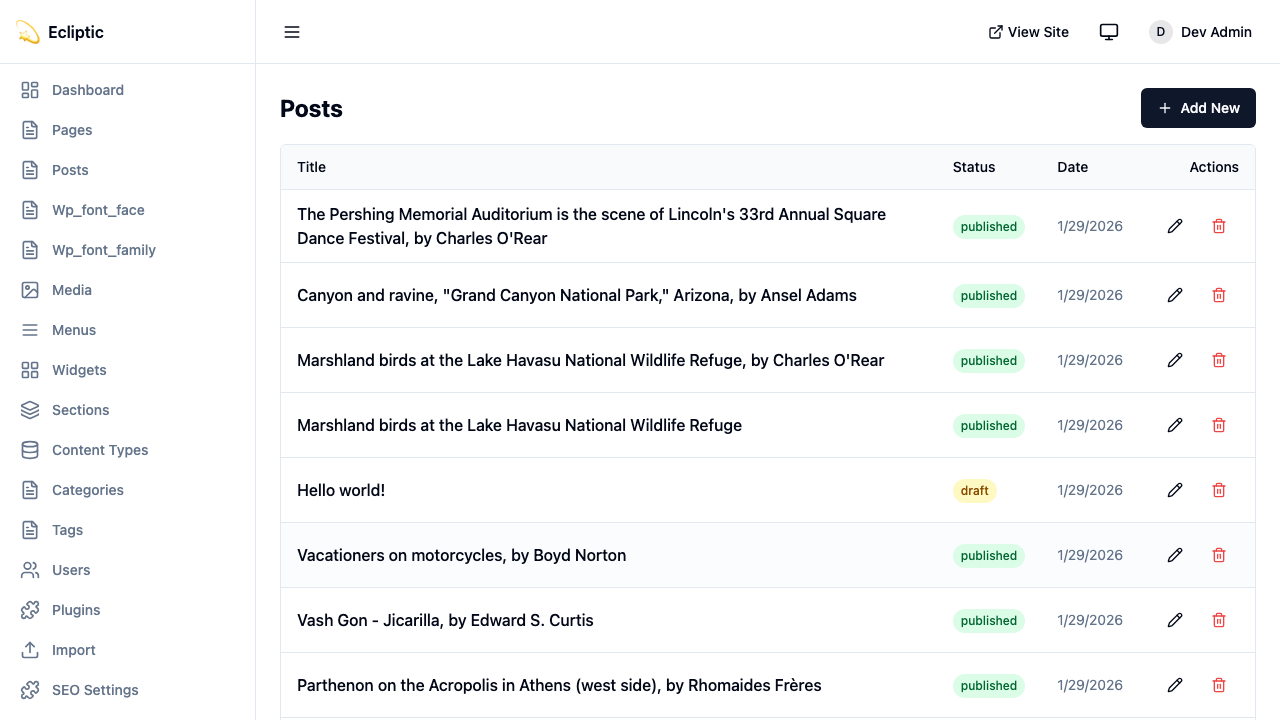
最初の投稿を作成する
-
/_emdash/adminで管理ダッシュボードを開く -
サイドバーの Posts をクリック
-
New Post をクリック

-
タイトルを入力し、リッチテキストエディタを使ってコンテンツを作成
-
サイドバーパネルでカテゴリとタグを追加
-
ステータスを 公開済み に設定
-
保存 をクリック
投稿はすぐに公開され、即座に表示されます。
サイトに投稿を表示する
すべての投稿を一覧表示
以下のページはすべての公開済み投稿を表示します:
---
import { getEmDashCollection } from "emdash";
import Base from "../../layouts/Base.astro";

const { entries: posts } = await getEmDashCollection("posts", {
  status: "published",
});

// 公開日順にソート、新しいものを先に
const sortedPosts = posts.sort(
  (a, b) => (b.data.publishedAt?.getTime() ?? 0) - (a.data.publishedAt?.getTime() ?? 0)
);
---

<Base title="ブログ">
  <h1>ブログ</h1>
  <ul>
    {sortedPosts.map((post) => (
      <li>
        <a href={`/blog/${post.data.slug}`}>
          <h2>{post.data.title}</h2>
          <p>{post.data.excerpt}</p>
          <time datetime={post.data.publishedAt?.toISOString()}>
            {post.data.publishedAt?.toLocaleDateString()}
          </time>
        </a>
      </li>
    ))}
  </ul>
</Base>
単一の投稿を表示
以下の動的ルートは個別の投稿をレンダリングします:
---
import { getEmDashCollection, getEmDashEntry } from "emdash";
import { PortableText, Image } from "emdash/ui";
import Base from "../../layouts/Base.astro";

export async function getStaticPaths() {
  const { entries: posts } = await getEmDashCollection("posts", {
    status: "published",
  });

  return posts.map((post) => ({
    params: { slug: post.data.slug },
  }));
}

const { slug } = Astro.params;
const { entry: post } = await getEmDashEntry("posts", slug);

if (!post) {
  return Astro.redirect("/404");
}
---

<Base title={post.data.title}>
  <article>
    {post.data.featured_image && (
      <Image image={post.data.featured_image} alt="" />
    )}
    <h1>{post.data.title}</h1>
    <time datetime={post.data.publishedAt?.toISOString()}>
      {post.data.publishedAt?.toLocaleDateString()}
    </time>
    <PortableText value={post.data.content} />
  </article>
</Base>カテゴリとタグの追加
EmDashにはカテゴリとタグの組み込みタクソノミーが含まれています。用語の作成と管理の詳細についてはタクソノミーを参照してください。
カテゴリで投稿をフィルタリング
以下のルートは単一カテゴリの投稿を一覧表示します:
---
import { getEmDashCollection, getTerm, getTaxonomyTerms } from "emdash";
import Base from "../../layouts/Base.astro";

export async function getStaticPaths() {
  const categories = await getTaxonomyTerms("category");

  // 階層的なカテゴリをフラット化
  const flatten = (terms) => terms.flatMap((t) => [t, ...flatten(t.children)]);

  return flatten(categories).map((cat) => ({
    params: { slug: cat.slug },
    props: { category: cat },
  }));
}

const { category } = Astro.props;

const { entries: posts } = await getEmDashCollection("posts", {
  status: "published",
  where: { category: category.slug },
});
---

<Base title={category.label}>
  <h1>{category.label}</h1>
  {category.description && <p>{category.description}</p>}

  <ul>
    {posts.map((post) => (
      <li>
        <a href={`/blog/${post.data.slug}`}>{post.data.title}</a>
      </li>
    ))}
  </ul>
</Base>
投稿のカテゴリを表示
以下のコンポーネントは投稿に割り当てられたカテゴリとタグを表示します:
---
import { getEntryTerms } from "emdash";

interface Props {
  postId: string;
}

const { postId } = Astro.props;
const categories = await getEntryTerms("posts", postId, "category");
const tags = await getEntryTerms("posts", postId, "tag");
---

<div class="post-meta">
  {categories.length > 0 && (
    <div class="categories">
      <span>カテゴリ:</span>
      {categories.map((cat) => (
        <a href={`/category/${cat.slug}`}>{cat.label}</a>
      ))}
    </div>
  )}

  {tags.length > 0 && (
    <div class="tags">
      <span>タグ:</span>
      {tags.map((tag) => (
        <a href={`/tag/${tag.slug}`}>{tag.label}</a>
      ))}
    </div>
  )}
</div>
ページネーションの追加
投稿が多いブログの場合、以下のルートで投稿リストをページネーションします:
---
import { getEmDashCollection } from "emdash";
import Base from "../../../layouts/Base.astro";

const POSTS_PER_PAGE = 10;

export async function getStaticPaths() {
  const { entries: allPosts } = await getEmDashCollection("posts", {
    status: "published",
  });

  const totalPages = Math.ceil(allPosts.length / POSTS_PER_PAGE);

  return Array.from({ length: totalPages }, (_, i) => ({
    params: { page: String(i + 1) },
    props: { currentPage: i + 1, totalPages },
  }));
}

const { currentPage, totalPages } = Astro.props;

const { entries: allPosts } = await getEmDashCollection("posts", {
  status: "published",
});

const sortedPosts = allPosts.sort(
  (a, b) => (b.data.publishedAt?.getTime() ?? 0) - (a.data.publishedAt?.getTime() ?? 0)
);

const start = (currentPage - 1) * POSTS_PER_PAGE;
const posts = sortedPosts.slice(start, start + POSTS_PER_PAGE);
---

<Base title={`ブログ - ${currentPage}ページ`}>
  <h1>ブログ</h1>

  <ul>
    {posts.map((post) => (
      <li>
        <a href={`/blog/${post.data.slug}`}>{post.data.title}</a>
      </li>
    ))}
  </ul>

  <nav>
    {currentPage > 1 && (
      <a href={`/blog/page/${currentPage - 1}`}>前へ</a>
    )}
    <span>{currentPage} / {totalPages} ページ</span>
    {currentPage < totalPages && (
      <a href={`/blog/page/${currentPage + 1}`}>次へ</a>
    )}
  </nav>
</Base>
RSSフィードの追加
以下のエンドポイントはブログのRSSフィードを生成します:
import rss from "@astrojs/rss";
import { getEmDashCollection } from "emdash";

export async function GET(context) {
	const { entries: posts } = await getEmDashCollection("posts", {
		status: "published",
	});

	return rss({
		title: "私のブログ",
		description: "EmDashで構築されたブログ",
		site: context.site,
		items: posts.map((post) => ({
			title: post.data.title,
			pubDate: post.data.publishedAt,
			description: post.data.excerpt,
			link: `/blog/${post.data.slug}`,
		})),
	});
}
フィードは @astrojs/rss パッケージに依存しています。以下のコマンドでインストールします:
npm install @astrojs/rss